Video editing is typically a complex and time-consuming process, requiring mammoth levels of patience and effort. There’s so much to do, starting with raw footage and transforming it into a rough cut, which is then further refined until you’ve got the perfect visual effects, colours, and sounds.
For this purpose, choosing a feature-rich yet high-performing video editing software product can be a great help in tackling all the technical work. But there’s so much more to the video editing process.
There are often multiple important files being worked on at a time, especially for bigger projects. Deadlines can be strict, but even when they’re flexible, it’s easy to lose sight of the end goal.
Therefore, video editors also need some basic supplementary tools that can help them keep their work organised and stay at the top of their game by making sure they stay on track (pun intended) and deliver on time.
We’ll talk about the different types of tools that are essential for streamlining the video process on Mac, and exactly how adopting them can make your job easier, faster, and more efficient.
Video editing software
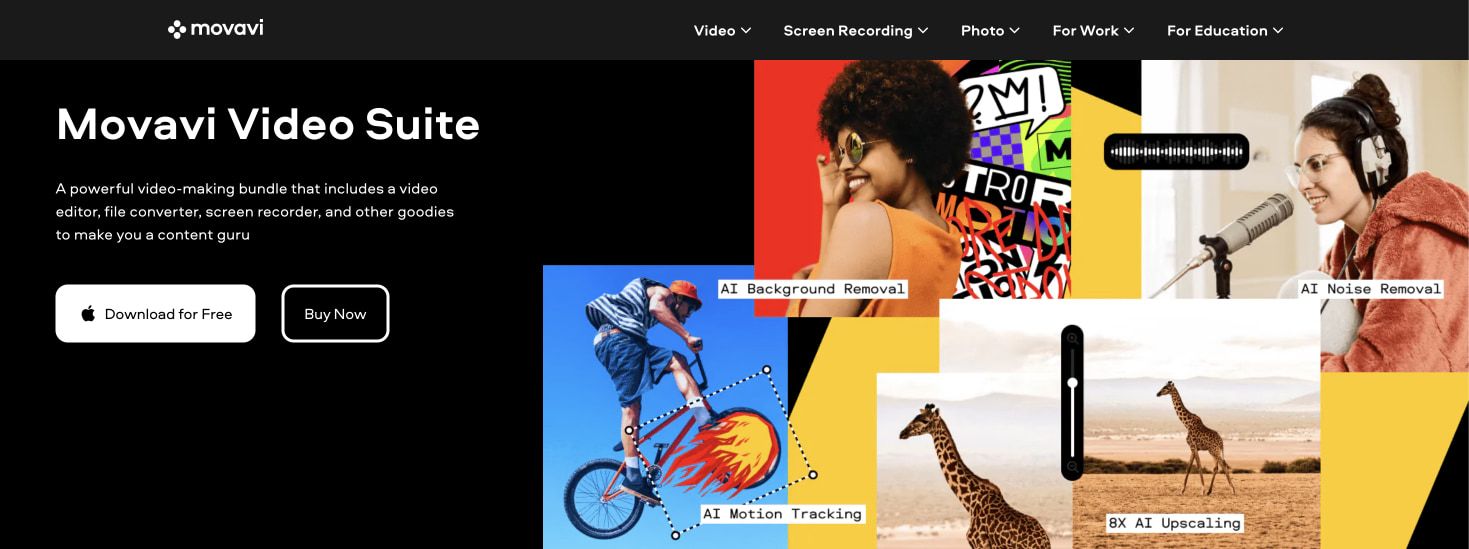
You can streamline a lot of your tasks with the help of the right video editing software, so it’s best to choose one that meets your requirements just right. But if you have no clue where to look, here’s one example of a robust tool which is compatible with Mac: Movavi Video Editor.
Movavi Video Editor is an all-in-one tool with a comprehensive mix of basic and advanced features. Its drag-and-drop interface is convenient and easy to use for anyone, regardless of skill level.
This video editing platform gives its users access to its Effects store, which offers an extensive collection of “packs” or groups of creative effects and filters. There are lots of overlays, transitions, colour correction and grading options, stickers, and masks available. To make your videos even more visually aesthetic, you can choose any number of royalty-free stock photos, videos, sounds, and more from the media library and add them to your video. Once the video track is finalised, you can edit and synchronise titles, captions, prerecorded audio tracks, voiceovers, music, and other sounds.
To get a quick start on creating a video from scratch, you can choose from one of the many ready-to-use customisable video templates. There’s also an in-built screen recorder, within which you can take notes on-screen, highlight your cursor, and display keystrokes.
Movavi offers certain AI-enabled functionality, too, including smart background removal, noise reduction, AI upscaling, and motion tracking. Another cool feature is stabilisation, which steadies shaky footage.
The final videos can be saved or shared in a file format of your choice.
Text recognition tools
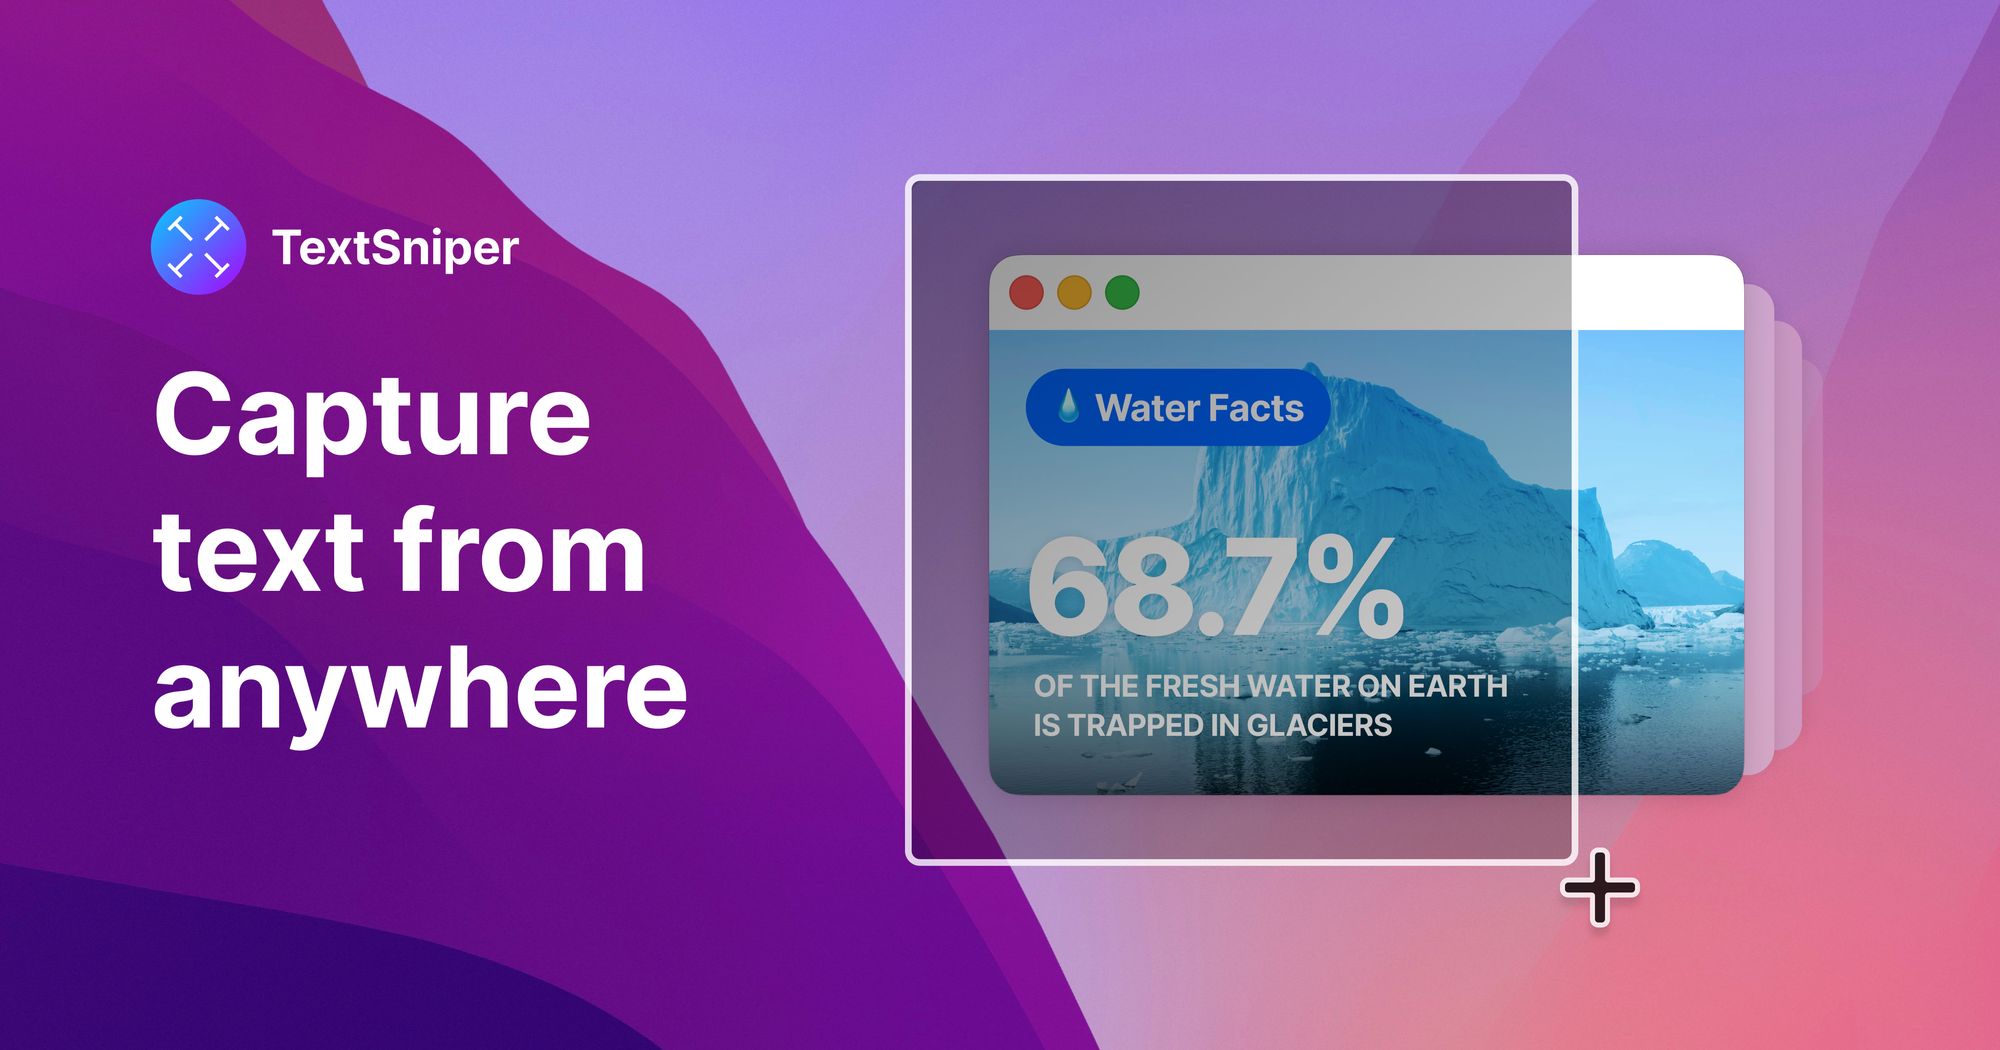
Text recognition tools quickly capture and organise text information displayed on your screen, saving you a considerable amount of time and energy.
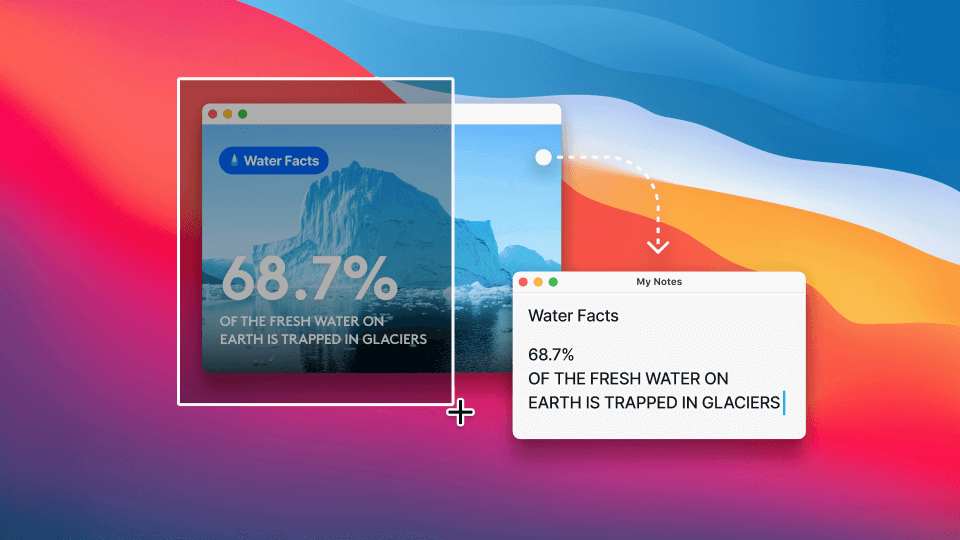
Let’s talk about TextSniper as an example. It’s a Mac-specific text capture tool that allows video editors to extract text from both images and videos. You can instantly and seamlessly capture text from tutorials, guides, or any other on-screen content.
Here are some more use cases specific to video editing:
- Extracting text from infographic tutorials or guides
- Capturing error messages
- Organising your notes and ideas
- Translating on-screen text for multilingual subtitles (with instant results, too, thanks to its text-to-speech capabilities)
With a good text recognition tool, you can bid farewell to manual typing and build a more efficient editing process.
File management tools
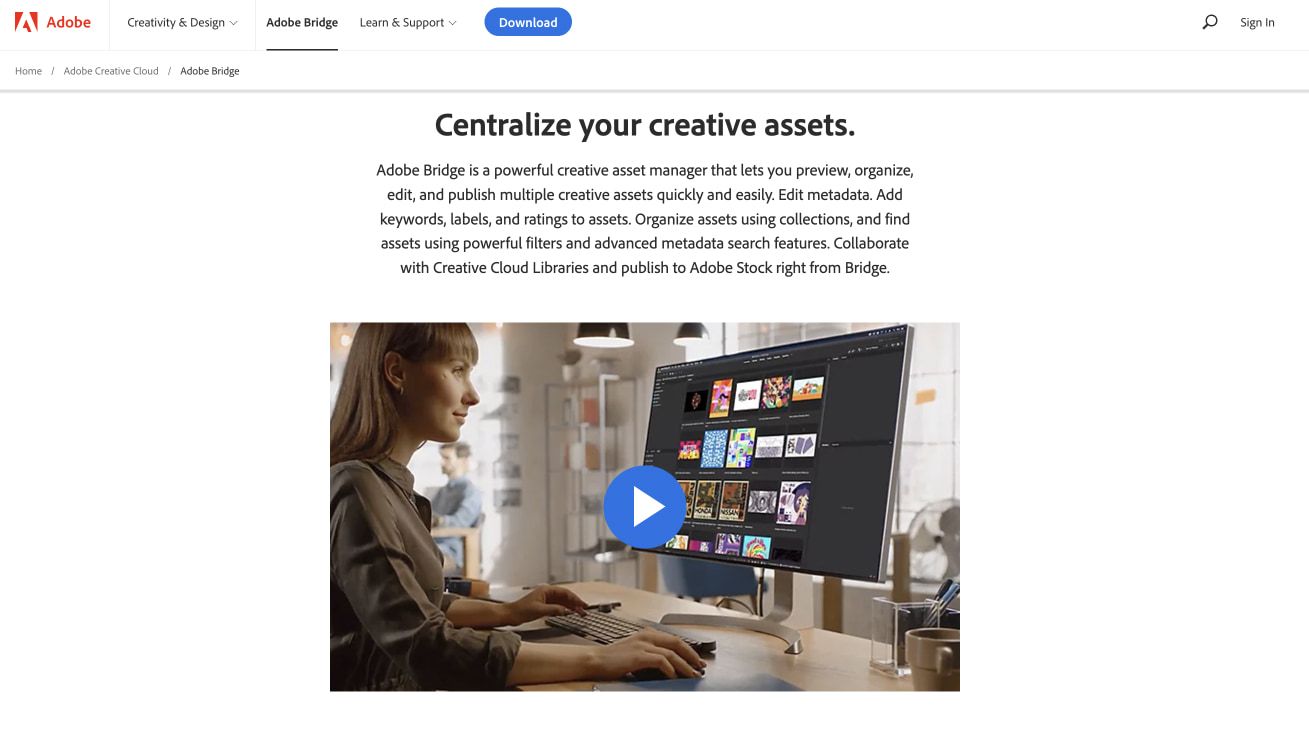
Having a proper file management system in place is extremely important for a streamlined workflow. Using dedicated file management tools for this purpose, especially those built for video editors, not only reduces search times but also saves precious data from getting lost in the clutter.
Adobe Bridge is one such tool that’s great for Mac users. It’s an asset management tool that works like a file browser, providing a consolidated view of all your media files within an organised space, easily accessible at all times. This means you won’t have to go looking for one file in ten different locations.
You can categorise your media files however you like, such as by colour-coding them using labels. With batch processing, you can even edit metadata for multiple files at a time. Image previews are available within the software, too.
The best part? It allows you to work with non-Adobe files too, which means there’s no compulsion to use the Adobe suite for your entire video editing process.
Productivity apps

Another type of tool that can make your video editing process efficient and organised is a productivity app. Asana, offered as both a web app and a Mac-compatible desktop app, is one such tool.
Asana can help you organise your video editing projects by allowing you to create multiple high-level projects, further dividing them into individual tasks. Each task can then be assigned to whoever is responsible. If multiple people need to work together on the same task, you can add them as collaborators. Each task contains the title, description, assignee, due date, priority, tags, and attachments, among other attributes.
You can control access by adding only those members who are relevant to a certain project. It also avoids clutter for team leads and members. The refined search capability makes it easy to find projects and tasks.
The app offers multiple views and reports, allowing you to see the overall workload and monitor productivity.
Wrapping up
If you want to effectively boost efficiency and streamline your video editing workflow on your Mac device, it’s important to use a combination of digital tools. By choosing the right tool for each key aspect of the video editing process, you will be able to produce high-quality, pro-level video content, all while saving time, keeping all your work organised, and successfully meeting your deadlines.
