If you want to record something on your Mac’s screen check this detailed guide on how to screen record on your Mac easily.
How to screen record on your Mac
Are you worried because you don’t have the newer versions of Mac or your operating system is outdated? If you are wondering how to record your screen on Mac, Apple introduced an easy-to-use app just for that purpose! In 2018, Apple launched the Mojave operating system, which introduced a built-in screen recording for the macOS. The Screenshot app is a convenient way to screen record on Mac. All you need to do is get the macOS Mojave or the later versions.

How to record screen on your Mac
If you want to record your screen on Mac using the Screenshot toolbar, you need to run macOS Mojave or newer versions. So the first thing you ought to do is find out what version of macOS you are using. If your Mac meets the version requirements, then you are good to go. Once you are ready, here is the procedure you should follow to record your screen:
- Simultaneously press Command, Shift, and 5 on your keyboard – this action will open the Screenshot Toolbar. Check for a toolbar with several icons and options at the bottom of your screen. Can you spot icons with a record symbol over them? One icon enables you to record the entire screen, and the other lets you record a specific section of your screen.
- Pick the recording type of your choice, and then click record.
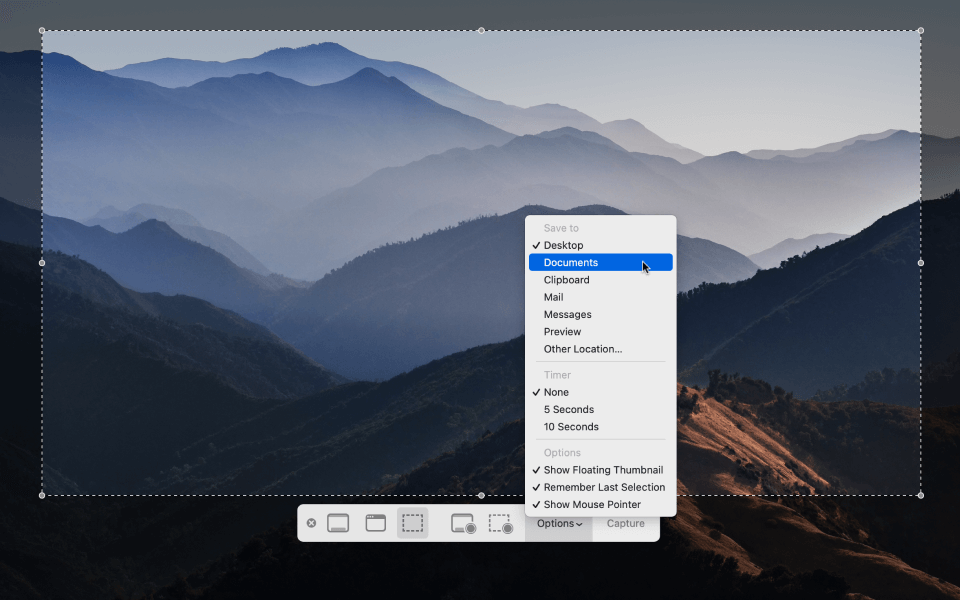
- Screen recording on Mac will start immediately, and everything on your screen or the selected section and the audio will be recorded.
- The last step is how to stop screen recording on Mac. At the top of your screen, there is a stop button that you can click when you are done recording.
How to screen record on Mac with audio
To screen record on Mac with audio, you can use QuickTime Player:
- Locate QuickTime Player from the Applications folder and open it. Click on File > New Screen Recording (from menu bar). A Screen Recording window will appear.
- Before you start recording, you can tweak the recording settings by clicking the arrow located next to the Record button. This allows you to use your preferred recording settings.
- If you want to screen record with sound, you have to choose a microphone. There is also a volume slider that you can adjust to monitor audio as you record. If there is audio feedback, you’ll have to reduce the volume or use headphones with a microphone.
- Finally, click the Record button to start recording and then pick your preferred recording type: it can be the entire screen or a section of the screen.
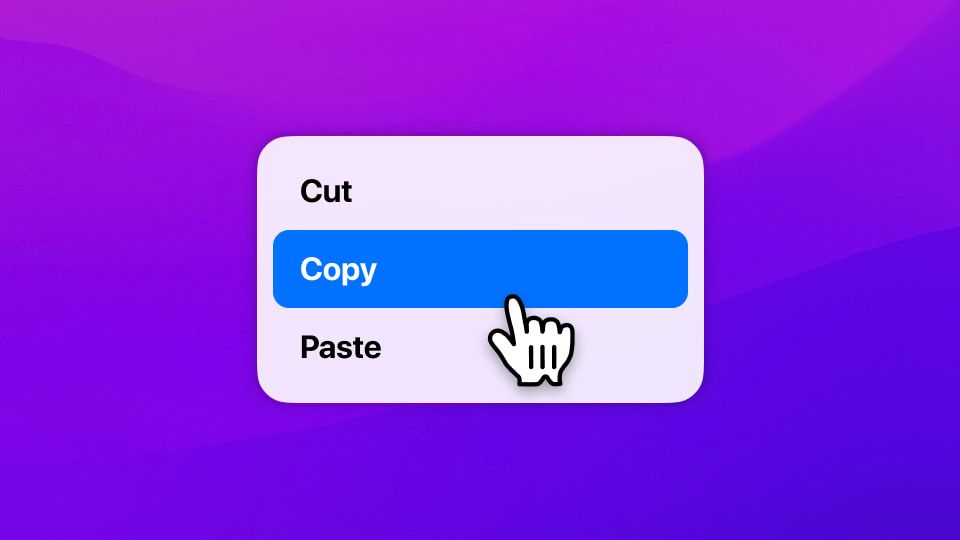
How to copy text from a screen recording on your Mac
You can easily copy text from any screen record on Mac using the Textsniper app. This is a convenient and effective Mac app that extracts and recognizes any text that is non-editable and non-searchable on your Mac’s screen. Here is a simple step by step guide:
- Press CMD, Shift, and 2 to start or select Capture Text from the menu bar
- Textsniper will quickly recognize and copy the text selection to the clipboard
- Press CMD and V to paste the copied text to any software you prefer
You can get the TextSniper app from the Mac Store.
How to screen record on your Mac with QuickTime player
Are you running an older version of macOS and thus can’t use the Screenshot app to screen record on your Mac? QuickTime screen recording offers you a solution. If you are using macOS Mojave or a newer version while following these steps, you’ll just find your way back to the Screenshot Toolbar. Have a look at the steps you should follow when using QuickTime for Mac:
- Search for the QuickTime Player app in your Applications folder on your Mac and open it.
- At the top of your screen, there is a menu bar – click File.
- Then click New Screen Recording and wait for the recording window to pop up.
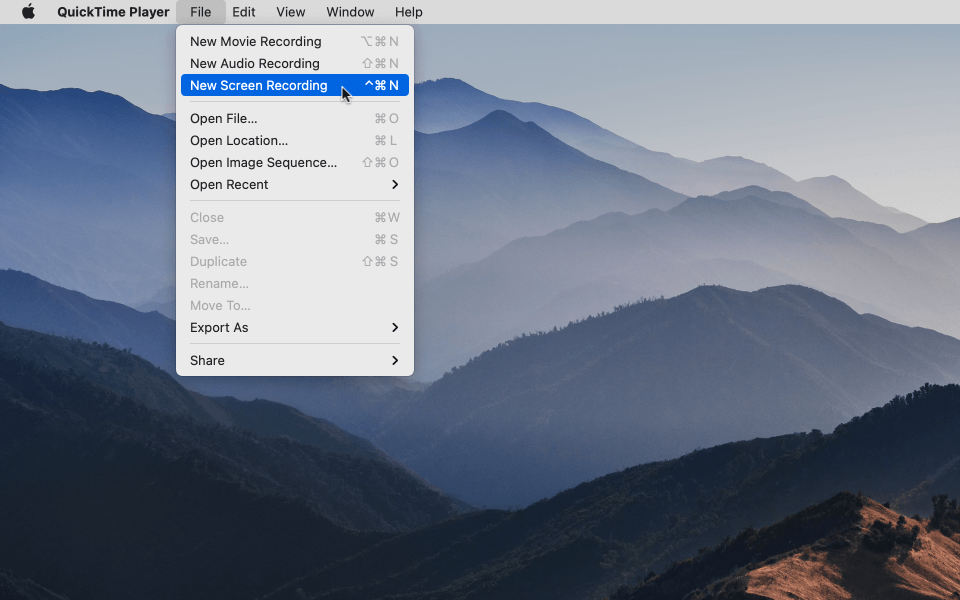
- The next step is clicking the red record button: select if you want to record the full screen or a section of the screen. If you want to record with sound, you’ll have to select a microphone.
- If you want to stop screen recording just click the small square button in the menu bar.

How to save and edit your screen recording on Mac
You can use QuickTime Player to edit your screen recording on Mac. QuickTime automatically opens the video immediately after you stop recording.
- Click on the “File” option from the menu bar to decide on where your video will be saved. The screen recording is saved as a MOV in your preferred location.
Some operating systems may allow you to trim or rotate your QuickTime video.
- The first step is to find its location then click on the file to highlight it.
- For you to be able to rotate or trim the video, hit the spacebar key to open a preview window which allows you to access the icons used in the top-right menu in the window.
- The next step is hitting the rotate button to rotate the video clip and to save it.
- If you want to trim the clip, select the trim icon. Then from the bottom of the screen, drag the editing bar to your preferred start and end frame of the video.
With this extensive guide, you should be able to comfortably screen record on your Mac (even with audio). You should also be able to extract text from your screen recording using the Textsniper app. And lastly, saving and editing the screen recording on your Mac should no longer be a challenge.